Thursday, November 22, 2012

Snow globe?

Snow globes are pretty.

Let's make one that's simple to make and super cheap.

Cast of characters:


  • Epsom Salt
  • White glitter
  • Litte trees
  • Vase

Fill vase with epsom salt.


Put the trees inside.


Pour some glitter on top to add some sparkle to the "snow."


And viola!

Christmas Table

Every season and holiday deserve their very own table settings.

This year, we'll be folding napkins to look like trees!

Cast of Characters:


  • Tablecloth
  • Placemats (I always get mine at The Christmas Tree Shop, like $1.25/placemat.)
  • Napkins
  • Centerpiece

Spread the tablecloth out, and put the placements down. 


Let's make some tree napkins!


Fold in half and iron.


Turn so that the crease is on the left. Fold each corner to the center.


And iron (it keeps it folded better)


Pretty.


Fold both flaps to center.


Iron.


Fold between the two points, see below.


Fold top (next to triangle) into the middle.


And repeat on the other side.


Use something to pin the top together (you'll need it to keep it together)
I used a bell, a safety pin and an ugly Walmart Christmas earing...


Put safety pin through the top of the bell. Put through the top of the triangle tree.


Put the earing on too, and stand up the napkin by spreading the triangles out.


Complete.


Also, these are cute.

Saturday, November 17, 2012

Photo Coasters

No one should ever have a glass on a table without a coaster. 

So make some pretty ones with unforgettable pictures.
Cast of characters:


  • Bathroom tiles (Home Depot, like 10 cents a piece)
  • Little felt circles
  • Pictures
  • Scissors
  • Pictures
  • Glue
  • Super Glaze or whatever brand thick epoxy you'd like

Cut your pictures to fit inside the tiles. Put some glue on the tile.


Put the pictures on the tiles.


Next, mix the epoxy per the directions on the box and pour ontop of the picture and tile. 
Make sure to cover your surface well. Epoxy is a thick thick glaze.


Smooth out and make sure it's evenly applied. 
Get rid of bubbles by blowing air in a straw at the epoxy.


Allow to dry. They'll be dry to touch in 8 hours and solid by 72 hours.


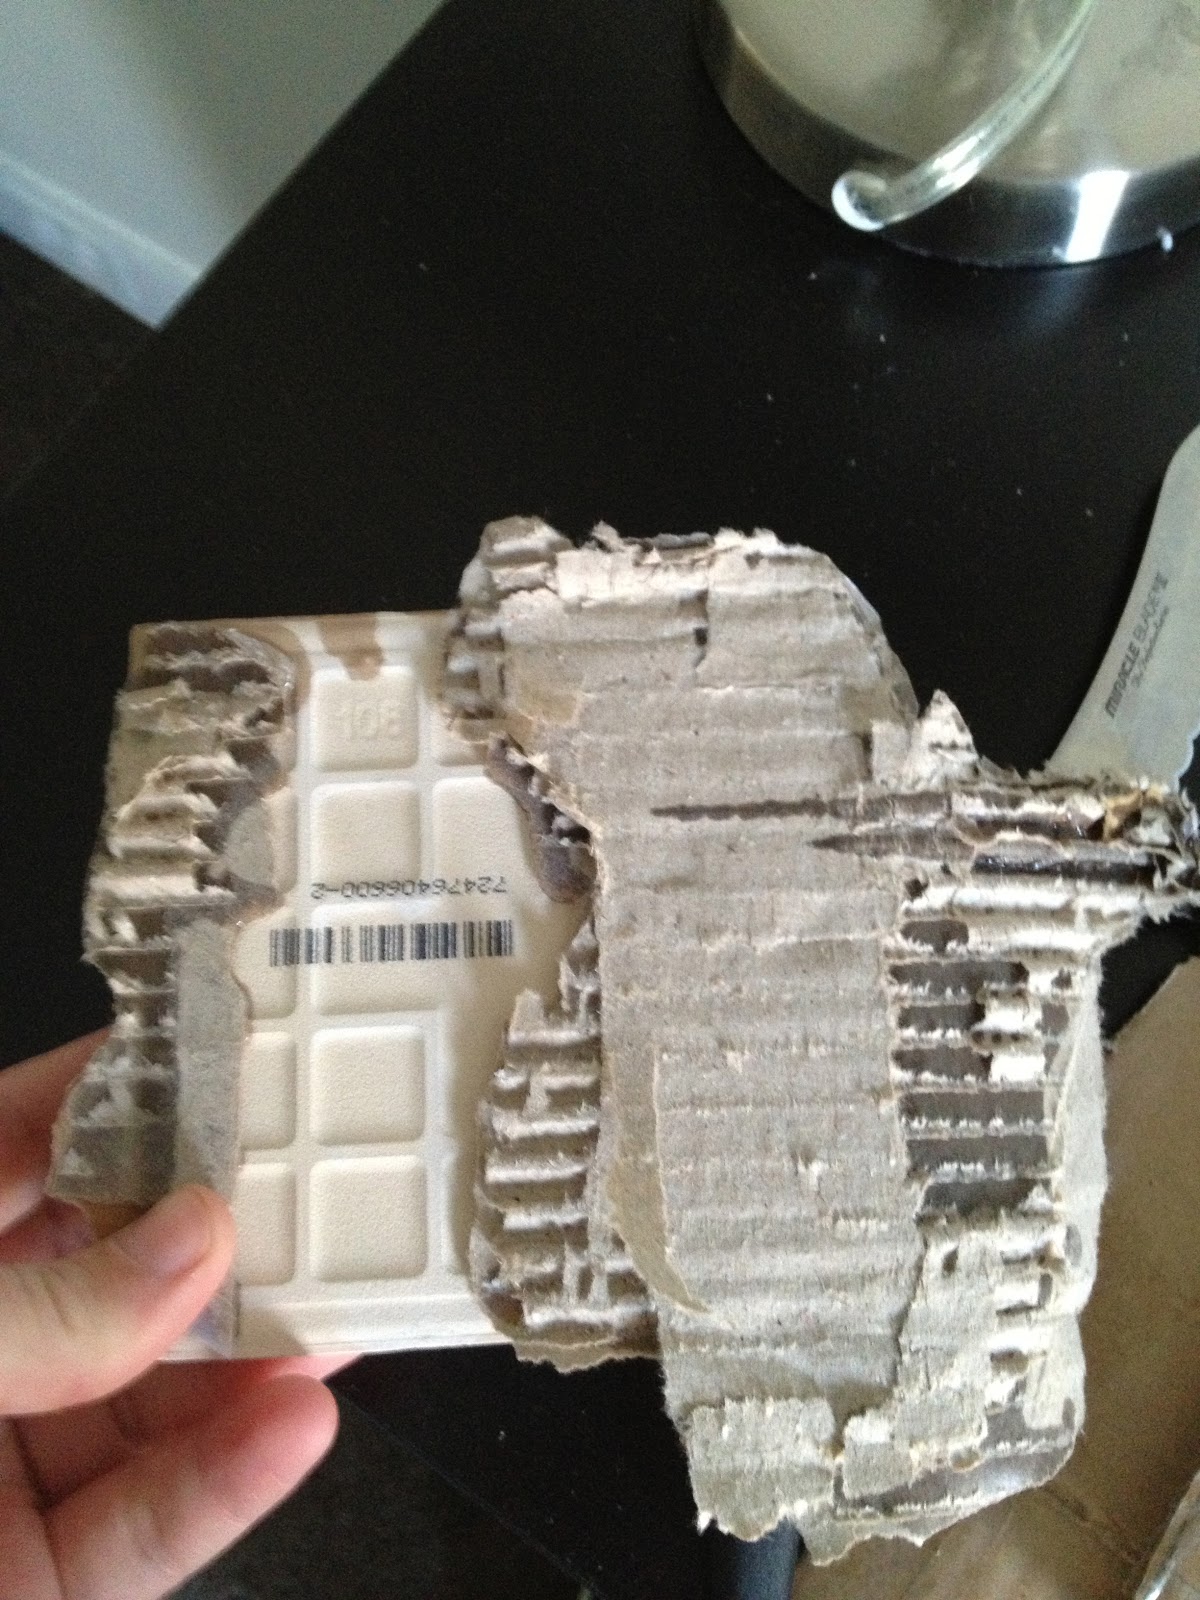
Make sure to move from the wet box below first. 
Or else, they'll literally stick to the box, like below. (Personal experience...)


Finally, place a little felt sticker on the bottom in all corners, and done.
As soon as I find a way to peel the cardboard off the back, I"ll post a picture of the completed coasters.

Fun with CORKS.

I like wine, but not enough to have a collection of corks.

If I did, I'd craft with them.

Cast of Characters:


  • Twine
  • Cutting board
  • Knife
  • Scissors
  • Ribbon
  • Corks
Like I said, I don't have a lot of corks laying around. You can buy them as a vase filler, I got these at Target in the vase isle.


First cork ornament, or corkament (as I'd like to call them) is a reindeer!


Cut two corks in half horizontally (the hamburger way, not the hotdog way)
Lay them in a group of four (like a square) and glue them together, these will be the legs.


Glue two corks to the top of the cork square for the body.


Glue another cork in the middle of the two to make a head like below.
Then accessorize it, give him a nose, some eye, some antlers.

And complete!

Next corkament: a tree!


Cut 3 more corks the hamburger way. 
This picture looks upside down.. hm.


Arrange them like this and hot glue together.


Hot glue some twine all around, and tie at the top.


And complete.


Enjoy your corkaments!

Friday, November 16, 2012

Rope Containers

Ever need an extra container for the bathroom to hold junk like tweezers?


Perfect, easy to do, and inexpensive solution.

Here's how.

Cast of Characters:


  • Scissors
  • Glue gun & glue
  • Rope (pictured better below)

Got this bad boy at Home Depot. 


To begin, hot glue the end.


Fold it onto its self.


Glue a part of the rope away from the folded piece and begin roll it to create a flat spiral.


Keep going until you have the size base that you want for your container all while using your hot glue to keep it in place.


Begin to roll it up the side now. 


Continue to roll, this time on top of the rope piece below, remembering to glue every now and then so that the container actually stays together.


Keep going until you have it the height that you want.


Cut the rope, and glue it. Done.


And this is how they look in the bathroom setting.